Friday 25 October 2013

Abbie Berger's Spicy Samosas

 Readers, I had the privilege of trying these just fantastic, little darlings when visiting Abbie's family and I have to say that, man, are they good! If Indian food is your thing then try them with these two recipes below:
 Now, have a read of the recipe below and get cooking...


Prep time: 2 hours | Cook time: 1 hour | Makes 46 samosas

Dough:

-10 cups white flour

-1/2 cup olive oil

Water
Filling:

-5 lbs cooked ground beef

-5 medium potatoes

-1 onion

-4 ½ heaping tablespoons curry powder

-4 ½ heaping tablespoons ginger

-2 ½ tablespoons dried chili pepper flakes

-1 ½ tablespoons cumin

-1 tablespoon coriander

-¼ teaspoon cinnamon

-½ teaspoon ground pepper

-1 ¼ teaspoon salt


 "Mix the flour and oil together thoroughly. Keep mixing while adding water; a little at a time. Knead for five minutes. Dough should form a smooth ball and be easy to roll out. Place dough back in bowl and cover with a clean cloth. Chop potatoes and onion finely. Add meat and place over low heat. Add remaining ingredients (spices). When potatoes and onions are cooked remove from heat. Grease three cookie sheets well. Grab a small section of dough (slightly larger than a golf ball) and roll out into an oval. Cut the oval in half. [see figure 4] Join corners A and B and form seam. [see figure 5] Carefully fill pastry with a spoonful of filling. [see figure 6] Seal pastry by gentle pressing the dough together and place on greased cookie sheet.
 "Preheat oven to 325 degrees Fahrenheit with convection on. Before placing the completed samosas in the oven gently brush with olive oil. Repeat 2-3 times throughout baking time. Flip samosas half way through baking to make them crisp all over. Remove when they are at a desired brownness. This is a great main dish served with curried rice and yoghurt on the side. Enjoy!"


 Thank you so much, Abbie. A really great post with some fantastic photos too! I can't wait to try these when I get home...
"This is a great main dish served with curried
rice and yoghurt on the side. Enjoy!"
 If you are reading this and can think of a recipe that you would like to share then don't hesitate; you could have your very own post right here on YourBlog!. Just write to me at onedeliciousman@gmail.com now. This is an online food community so let's get sharing!

Jacob


"To glorify my Savior, Jesus Christ, the Creator 
of the universe and spread further abroad His glorious gospel." - Yours Truly

Wednesday 7 August 2013

Sophie's Amazing Summer Fruit Sponge Wedding Cake

The top of the finished cake


I made this beautiful cake for my friend’s wedding, but it would easily suit any other summer occasion. It is very easy to achieve a spectacular centre-piece without needing to be artistic – the sheer profusion of fruit makes this cake truly eye-catching! The cake is made up of 9 layers of egg sponge, making 3 tiers of 3 layers each. You need to make three 4-egg quantities (in a 10’’tin) for the bottom layer, two 3-egg and one 2-egg (8’’ tin) for the middle layer, and one 2-egg and two 1-egg mixtures (6’’ tin) for the top layer. I know this seems odd, but the cake looks best and most-balanced that way! You will need an electric mixer to make the sponges, as it requires an awful lot of mixing. So much, that if you did it by hand, your arm would fall off!


It might take a while...
Sieve in the flour

I recommend lining the bottom of the tins with greaseproof paper – no need to line the sides as it bakes so quickly – and spraying with FryLight. If you don’t have FrylLight (you should!) you can grease with a small amount of margarine. As for baking times, I have a very slow oven, so I baked them all on the maximum temperature. I reckon a good fan oven would bake them at around 180, with approx. 20 mins for 4-egg, 15 for 3, 12 for 2 and 10 or less for 1. This is a very rough guide – you’ll know your own oven best. It takes a long time to bake all the layers for the cake, so this needs to be done the day before you want your cake.


Ingredients

4 eggs, 6oz white caster sugar, 4oz self-raising flour, 1tsp vanilla extract
3 eggs, 4 ½oz white caster sugar, 3oz self-raising flour, ½tsp vanilla extract
2 eggs, 3oz white caster sugar, 2oz self-raising flour, ¼tsp vanilla extract
1 egg, 1½oz white caster sugar, 1oz self-raising flour, wee drop vanilla extract

Method

Whisk the room-temperature eggs in a warmed bowl with a pinch of salt. Add the sugar a little at a time, whisking thoroughly between each addition. After adding all the sugar, keep whisking until the mixture is very thick and pale. Test for thickness by making a figure of eight in the mixture with the beater. Count to eight, and the figure of eight should still be visible. If it dissolves before then, keep whisking! Sift in the flour, and fold into the mixture, gently and quickly. Then stir in the vanilla extract, pour into your prepared tin and bake in the preheated oven.

Assembly

Putting it all together
You will need a 12’’ cake-board and a thin 8’’ and 6’’ board; 2 pints whipping cream;  freezer jam; 2 punnets large strawberries, sliced; 1 punnet each of small strawberries, raspberries, and blueberries; one large spring of lemon-balm or mint; three or four rosebuds or tearoses; several lengths of narrow pink and cream ribbon; crystallized rose petals. And the cakes.

Place one 4-egg cake on the cake-board. Spread jam evenly over it. Arrange the sliced strawberries evenly over the cake. Make sure you let some strawberries peep just over the edge of the cake. Spoon cream over the strawberries, and lightly press the second 4-egg cake on top. Repeat the same steps for the second cake. Do not put jam or cream on the last 4-egg cake. Instead, place a thin 8’’ cake board on top, and build the second layer on this, placing the 3-egg sponges first, with the 2-egg on the top. This helps to stabilize the cake and spread the weight evenly. Do the same with a 6’’ cake board for the top layer, using the 2-egg cake first. Spread cream over the top cake. Tie the roses together in a posy with the ribbons, leaving a considerable length to drape down the sides of the cake. Nestle the roses into the cream, and heap small strawberries, raspberries and blueberries all over. Make sure you cover the edges of the supporting cake-boards with fruit. Scatter some crystallized rose petals over the whole thing and you’re finished! Step back and enjoy your creation!
The happy couple cutting the cake!


Freezer Jam

1lb strawberries
1 ½ lb caster sugar
Juice of a large lemon

Wash, hull and slice the strawberries. Mash the strawberries with the lemon juice and add half the sugar. Leave for a few hours to dissolve at room temperature. Then add the rest of the sugar, stir well and leave in the fridge for 24 hours. You’ll probably want to stir it up a few times. Put it into wee pots and freeze!


Crystallized Petals

Take some *perfect* rose petals, make sure there’s no bugs on them, and paint with a mixture of egg white whisked with a tiny drop of water. Don’t make the petals too wet. Sprinkle them with sugar and leave to dry in a cool, dry place. I made these during the spell of really hot weather, so having nowhere cool and dry, I left them over-night in a fan oven with the temperature turned to 0. This worked really well. When they’re fully dry, store them in an air-tight container between layers of greaseproof.
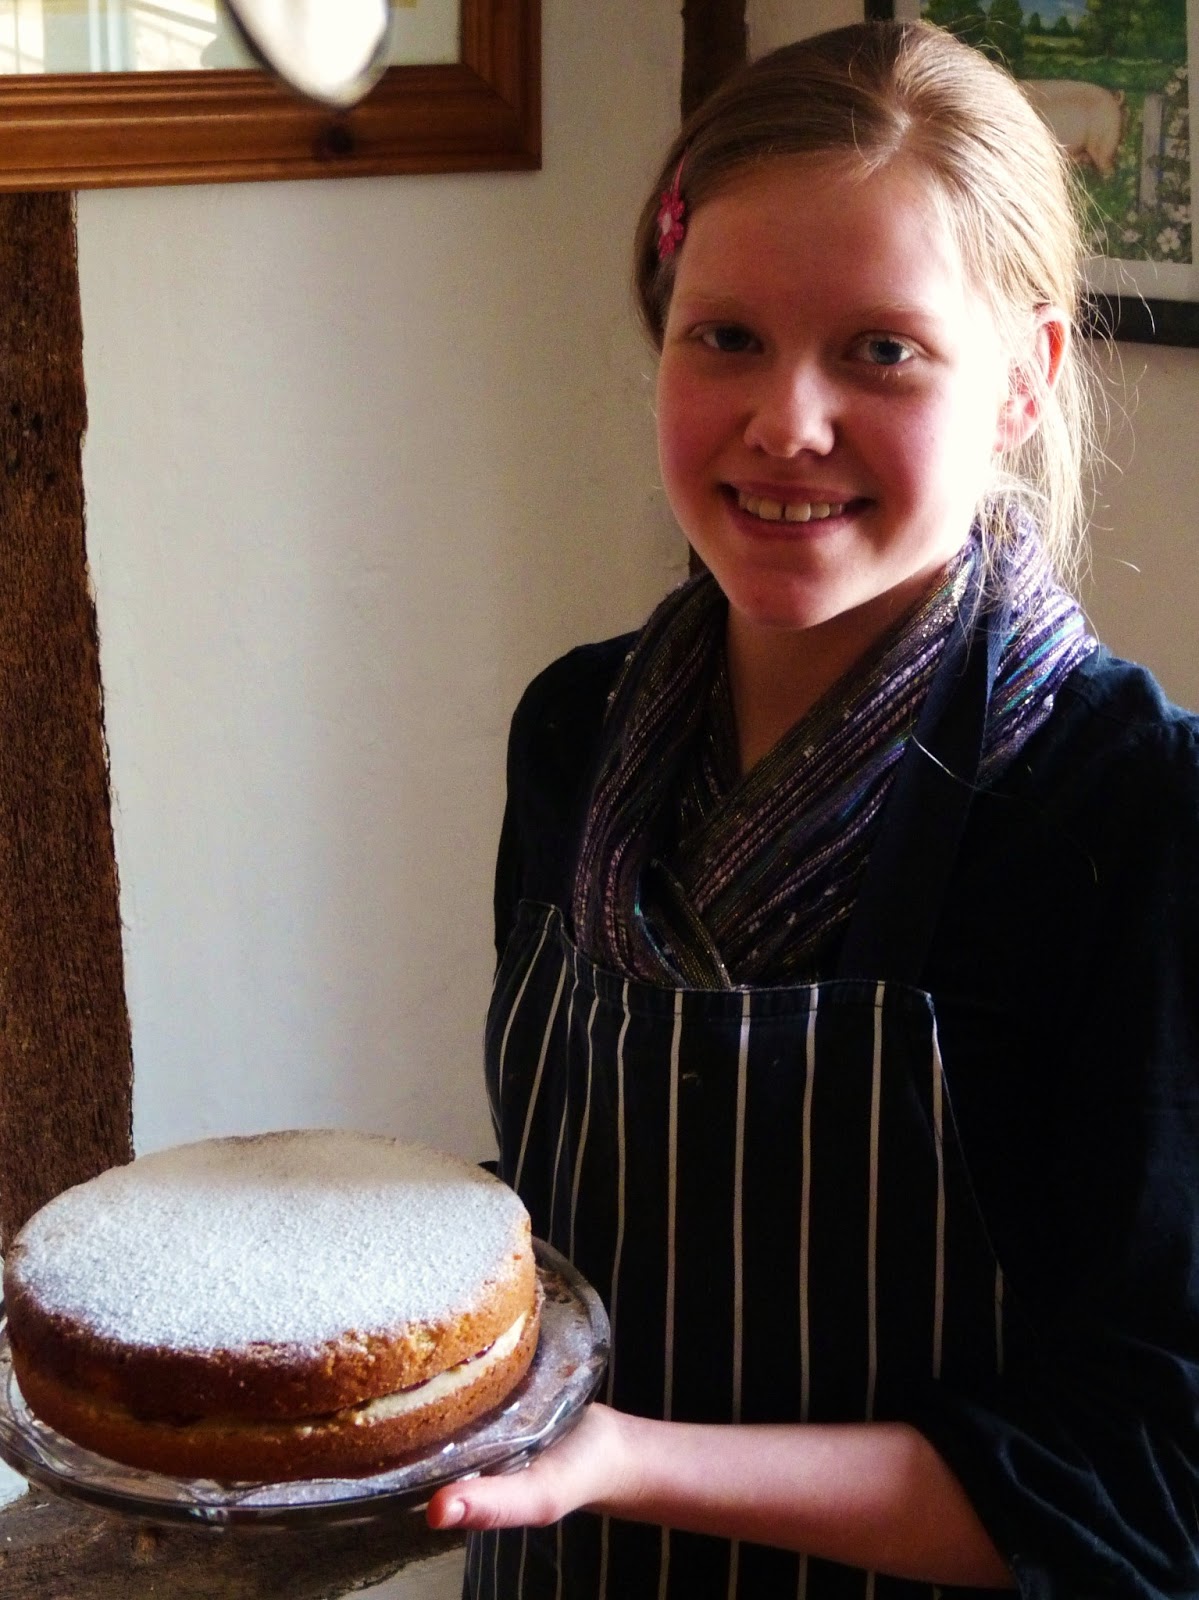
Well done, Sophie!


"To glorify my Savior, Jesus Christ, the Creator  
of the universe and spread further abroad His glorious gospel." - Yours Truly

Friday 12 July 2013

Charis Shepherd - My "125 Lemon Sponge Cake"

 Hi Everyone,

 My sister who does the amazing photography for my blog JacobandJamie submitted this awesome Lemon Sponge recipe for you guys to make and enjoy. I absolutely love it so I know you will!


 "This is a delicous, super easy, light and fluffy, Lemony Sponge cake that I know you'll love! Everything used it is in 125 grams so it's real easy to remember. The more you enjoy making it, the better it tastes so don't forget to have lots of fun." 

 Time: Roughly 35 minutes

 Serves: 8-10

 RECIPE:

 1) First you'll need to preheat your oven to 180ºc and grease your tin. (I like to butter it and then sprinkle some flour around evenly, just to be sure that it doesn't stick to the bottom.) Put 125g of lightly salted butter in a bowl with 125g of golden caster sugar and place it in the microwave for 30 sec. until it's a yummy, gooey, melted mess. (You could do it in a saucepan over the hob.)  Once that's done stir it around (use a whisk if you can, it's much easier and makes the sponge fluffier too.) 
 2) Then add the lemon rind of two lemons and mix it all together. Add an egg (organic if you can!) stir, then add another and mix again. Sieve in 125g of self raising flour and mix it all together. Now, you can add the lemon juice of 1 and a half lemons and stir that well. 
 3) Pour the mixture into your already greased tin (if you're like me and just want to get to making that cake, it's time grease your tin now!) Leave it to cook for 15-20 minutes or until it's a lovely golden brown colour and firm to touch. If your still not sure if it's done, do the plastic knife/toothpick trick. 

 "And there you go, your cake's done! If you want a two tier cake, simply double this recipe."


 "For decoration, a pretty little dusting of icing sugar on top works, or make a simple butter cream icing and add the other half of your lemon juice to it and the rind. Make sure the cake is good and cooled down before you ice it though!

 For extra deliciousness, make a sweet and sticky lemon topping.

 Grab another small bowl and pour in the other half of your lemon juice and a nice sprinkle (around two tbsp. more if you fancy being naughty) of golden caster sugar. Mix them both together and pour this all over the cake while it's still hot, then serve. This makes the cake a bit gooey-er rather than the fluffier version but you can try both and see what one you prefer.


With Love,

Charis

 Thanks so much, Charis, brilliant post and recipe! If you are reading this and know of a recipe that you would like to share then write to me at onedeliciousman@gmail.com right now for your very own post right here on YourBlog!. This is an online food community for everyone to be a part of so get in your kitchens; I know you are all out there and that you are capable of more than you make yourself believe!

God Bless!


"To glorify my Savior, Jesus Christ, the Creator  
of the universe and spread further abroad His glorious gospel." - Yours Truly

Tuesday 18 June 2013

Rosie's Crazy Chewy Cookies

COOKIES! And are those green 'Smarties'...
 Hello Food Lovers,

 My friend Rosie sent me her own super easy, half-a-dozen step recipe for some super delicious cookies. It's riddled with humour, fun and plenty of room for personalisation (it works fine gluten-free too) so read on, get in your kitchen and prepare for gooey, chewy indulgence!


  Here's my recipe:  
 1) Preheat the oven to 200oC (or that’s 180oC for a fan oven) and put some sheets of baking paper on at least two baking trays.
 2)First of all you need to sieve 250g/9oz of flour in a spare bowl. Then melt 170g/6¾oz of butter over the hob or in the microwave. If you use the microwave try not to make my mistake of pressing 30 MINs instead of 30 SECs - oops.
 3) Now that the butter is melted add 185g/6½oz of Light Soft brown sugar and 110g/3¾oz of caster sugar. So at this point, if you melted the butter good and proper, the whole thing with the sugar added will look like a right disaster but, trust me, it’ll be OK. Just pop it in the fridge for 10mins to help it solidify a little.
 4) In a small spare bowl, whisk together 1 egg and 1 tsp. of vanilla essence. Take the melted butter mix out the fridge and add the flour to it.  Mix it together with a wooden spoon (if you use a mixer you’ll just end up with paste) and splat in the egg, add the vanilla, and stir again.
Cookie mixture ready for baking
 5) Here comes the best part: adding all the sweet bits! I used fudge, Smarties, and Minstrels, but you could add Crunchie, Maltesers, nuts, raisins or a blob of peanut butter. Once you’ve achieved your perfect mixture, and balance of sweets and cookie, you can scoop the mix onto the baking trays in about tablespoon size blobs, allowing for the fact that they will expand to about 4 times that size once cooked.
 6) Pop them in the oven for 17-19mins and eat all the left over chocolates while you’re waiting, why not?

 "Once they’re done, leave them on the trays, but put the whole tray on a cooling rack, and leave them to settle as long as you can. If you leave them overnight covered with a tea towel, they will become even chewier - that is if you can wait that long!"

Tadah! And enjoy...
"Gimme da cookie!"


 Thanks so much, Rosie. I can't wait to give this amazing recipe a go very soon! 

 If you're reading this and know of a recipe or cooking related story that you might like to share then write to me right now at onedeliciousman@gmail.com. Go on, send it in, I'd love to hear from you.

God bless!


And because I have a bizarre sense of humour...


"To glorify my Savior, Jesus Christ, the Creator
of the universe and to spread further abroad His glorious gospel." - Yours Truly

Friday 24 May 2013

Joseph Carter - "Classic Rhubarb Crumble"

Joseph's older sister, Jasmine. That is some awesome looking rhubarb!
 Joseph Carter tells us how to make a classic, British dessert, rhubarb crumble. I love crumbles (and, even Jamie Oliver himself will agree, cold pre-made custard!) but the best bit about this post for me was that the rhubarb was from their own garden. Just look at the size of it! Home grown stuff is so much better and gives you such a sense of satisfaction. I certainly recommend you guys trying it sometime. Have a read of this and don't forget to comment below!

 "The other day we made rhubarb crumble using some rhubarb grown in our garden. Here is a picture of my sister with our freshly picked rhubarb. Everyone in our house loves rhubarb especially rhubarb crumble. Below is how we made it."


This you've got to try...
  1. First we heated the oven to gas mark 5. 
  2. Then we washed and chopped the rhubarb and placed 350g of sweetened rhubarb in to a ovenproof dish. 
  3. Next we rubbed 100g of butter into 200g of self raising flour until it resembles breadcrumbs. 
  4. Then we added 100g of sugar and 50g of oats and mixed it thoroughly, spreading it evenly over the rhubarb. 
  5. We baked it for about 30 minutes until rhubarb was cooked.


 Thanks so much Joseph, it sounded absolutely delicious! Keep the recipes coming...

 If you have tried something from my blog "Jacob and Jamie", have a recipe of your own or anything food related that you would like to share with us or simply some questions/suggestions then don't hesitate to contact me; this right here is an online community for food lovers. Write to onedeliciousman@gmail.com right now! I can't wait to hear from and promise to do my absolute best to get back to you as soon as possible.


"To glorify my Savior, Jesus Christ, the Creator
of the universe and to spread further abroad His glorious gospel." - Yours Truly

Tuesday 7 May 2013

Jasmine Carter - J&J "Diner Style Baked Potatoes."


Jasmine's superb creation. I wish I'd been there to sample...
Jasmine Carter from Southampton decided to have a try at the recipe "Diner Style Baked Potatoes" from my blog Jacob and Jamie. Read her account below and be sure to comment!


 "I’ve wanted to try one of the recipes from this blog for a while, but am not a great cook so didn’t want to try anything too hard! (Well not yet anyway) I just loved the idea of the Diner Style Baked Potatoes as they were relatively simple, yet different, and was something my family would love. So when we got some potatoes I decided to try it. 
 "Since we’ve just moved house we didn’t have a lot of the ingredients, so we bought some of them, but I forgot others, like lemon juice and paprika. That was ok for the first time doing it because my brothers are not great fans of either, but I can see they would make the meal much tastier for next time round. For once I wasn’t too distracted while in the kitchen and could follow the recipe properly and everything went smoothly.  I also discovered that we had basil in our kitchen to go in the filling which I didn’t know about. I then had to go and look up all the things it was useful for later on after being told it was good for digestion. ;) Um yeah burning the basil plant wards off mosquitos apparently! Random.
"I just loved the idea of
Diner Style Baked Potatoes..."
 "Apart from the ingredients I didn’t have, the recipe was followed and it turned out well. Unfortunately as I was taking the potatoes out of the oven after filling and topping them I got a phone call to remind me that I was late for my baby-sitting job so I had to rush out of the house! Lol, I’d tasted enough of the filling throughout so I didn’t feel hungry anyway!  I got told that it was very nice and everyone enjoyed it. So that was very good and they had left some for me to re-heat. I’m pretty pleased with it and will definitely be trying some of the other recipes here as well. Because I love Jacob’s blog, it’s so well done, and everyone ought to end their entries with that note." ;)


 A huge 'thank you' Jasmine for your brilliant story and fine recreation. You even taught me something as I had no idea about burning basil leaves! If you have something you would like to try from this blog, your own recipe or story then do not hesitate to write to me at onedeliciousman@gmail.com right now. 

 P.S. If you want to see Jasmine's blog click here.

"To glorify my Savior, Jesus Christ, the Creator
of the universe and to spread further abroad His glorious gospel." - Yours Truly
  

Wednesday 3 April 2013

Welcome To Your Blog!

The video that started it all
 And here it is at last, Jacob and Jamie - Your Blog! Here for you to share with the world and me your favourite recipes and stories. You may be wondering, "And what is this exactly?" so I shall explain. Just over two months ago, I started a blog about my cooking adventures and how I came to love food. Back in 2007, I saw Jamie Oliver's 'Happy Days' video concert in London and that was that for me, the journey had begun. The blog title was inspired by the true story of Julia Child and Julie Powell (whose own, infamous blog I found most distasteful as did Julia Child herself) from which the movie 'Julie and Julia' was made and so I changed it to myself and the man who started it all off for me, Jamie. (If you would like to know more then visit the 'about' page of my main blog here at Jacob and Jamie - About This Blog)
See it as a challenge if you will
 In only a sixty days my blog climbed to well over a thousand views from over twenty countries which I never dreamed would happen but as I was writing and posting stuff, I really wanted to get my readers more involved and brings things closer to them. That is how Jacob and Jamie - Your Blog came to be. Now we can get as many people cooking as we can, all sharing their love for food with the entire world! I can't say how excited I am at where this could go and the lives we could bring joy to even if it's the smallest of smidgens. Joy is priceless and so if we can give that to people through doing something that we all love then bingo, we've hit the jackpot!
 However, so that we can all get the best out of this blog and fully enjoy it, I will now take the time to lay down some rules if I may. Rules keep order and give boundaries so I think we kind of need them.


BLOG RULES
  1. As blog author, I have the final say as to what content is permitted in your post drafts both text and pictures (So, as my brother correctly said, "No pretending to be the Naked Chef!")
  2. All information offered in your posts is at your own risk, the blog author can take no responsibility for it
  3. And if you guys don't send anything then nothing can get posted!
 That should about cover things. If you would like to contact me then write to onedeliciousman@gmail.com. (Your patience is greatly appreciated if I take a while to get back to you.)

 Right, now all of you get cooking and writing up recipes! Be it the smallest of fancies to the hugest, marinated hunks of meat cooked for hours, send them in. For those who may be afraid of trying to cook, be courageous and daring. For those who already cook but are looking for something new, be exotic and original. And to all of you, be creative and unafraid to discover what you are really capable of. I really can't wait to hear from you all!

Seasoned with Hope,

Jacob


"To glorify my Savior, Jesus Christ, the Creator
of the universe and to spread further abroad His glorious gospel." - Yours Truly